Why Most Home Espresso Beginners Fail (And How to Beat the Odds)
I’ve watched it happen dozens of times. Someone buys their first espresso machine, makes a few terrible shots, gets frustrated, and shoves the whole thing into a cabinet. Three months later, they’re back at their local café, convinced home espresso “just isn’t for them.”
It wasn’t them. It was probably the machine. Or more accurately, it was a mismatch between expectations, equipment, and realistic learning curves.
During my time working behind the bar at a busy café, I trained countless home enthusiasts who wanted to replicate what we were doing. Most showed up with either wildly expensive prosumer machines they couldn’t operate or cheap plastic contraptions that couldn’t produce espresso worth drinking.
A great beginner espresso machine isn’t necessarily the cheapest one. And it’s definitely not the most expensive. It’s the one that forgives your mistakes while you’re learning, doesn’t require a PhD to clean, and still produces something that tastes good enough to keep you motivated.
What follows is an espresso machine buying guide that cuts through the noise. I’ll share which features actually help beginners succeed, which “premium” additions are pure marketing fluff, and exactly how to choose your first machine based on your actual morning routine.
The Beginner Success Framework: 3 Features That Actually Matter
When people ask me how to choose an espresso machine, I always start with the same three things. Everything else is secondary.
Temperature Stability
Nobody talks about this in advertisements. But temperature consistency makes or breaks your shot.
Cheaper machines heat up quickly, then swing wildly between too hot and too cold. Your first shot might taste burnt. Your second might be sour. You’ll think you’re doing something wrong when really, the machine just can’t maintain proper brewing temperature.
Machines with a PID controller or at least a large boiler deserve your attention. A PID (basically a fancy thermostat) keeps water within a degree or two of your target temperature. Machines with small thermoblock heaters tend to fluctuate more, which makes learning nearly impossible. How can you isolate your own technique from the machine’s inconsistency if the temperature is all over the place?
Forgiving Pressure Systems
Most beginner espresso machine marketing won’t tell you this: that “15 bar pressure” stat plastered on the box doesn’t mean what you think.
Actual espresso brews at around 9 bars. Many cheap machines blast water through at full pressure with no regulation, which leads to channeling, over-extraction, and bitterness.
Better entry-level espresso machines include an OPV (over-pressure valve) or similar pressure management system. Some even have built-in pressure gauges so you can see what’s happening. With this forgiving pressure setup, even if your grind is slightly off or your tamp is uneven, you’ll still get something drinkable.
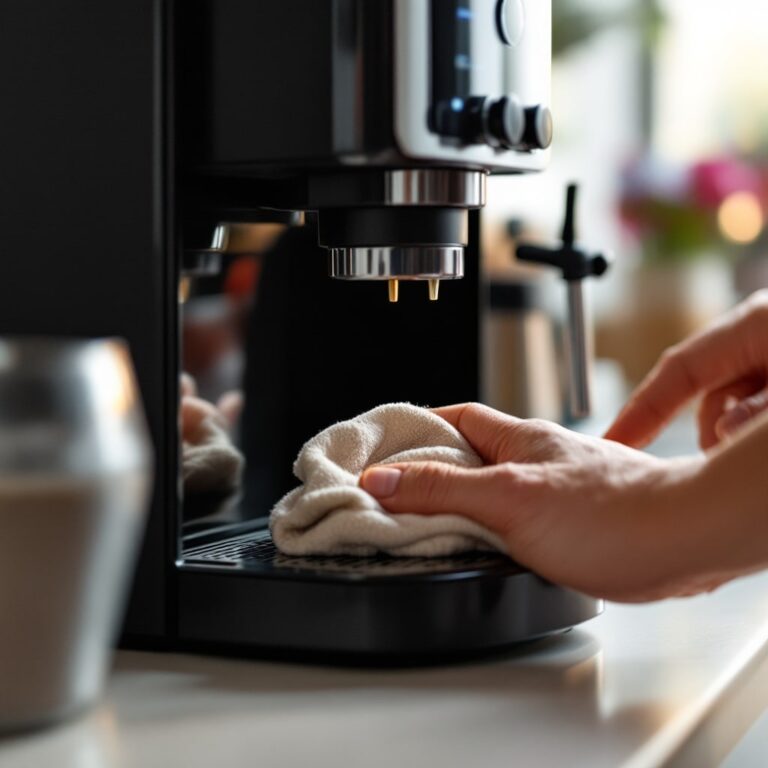
Easy Cleaning
Not glamorous, I know. But dirty machines make bad coffee. Period.
If your portafilter is a pain to remove, if the drip tray requires acrobatics to empty, if descaling feels like surgery, you simply won’t do it. And then your “best espresso machine for beginners” becomes a countertop decoration.
Removable brew groups (Breville machines have this), dishwasher-safe drip trays, and straightforward descaling procedures should be on your checklist. Those ten minutes you save on cleaning adds up to hours over a year, and it keeps your coffee tasting fresh.
Marketing Hype Exposed: 5 “Premium” Features Beginners Should Skip
Now let’s talk about what NOT to fall for. Companies spend millions convincing you that you need features that won’t improve your coffee one bit.
1. Built-In Cup Warmers
A warm cup matters, sure. But that passive warming plate on top of your machine? It barely works unless you leave cups there for 30+ minutes. Just run hot water through your cup before pulling a shot. Problem solved, money saved.
2. Touchscreen Interfaces
These look sleek in showrooms. They also break more easily, add complexity, and often make simple adjustments harder than buttons would. Physical controls you can feel without looking are actually more convenient at 6 AM.
3. Excessive Programmability
Does a beginner need to program 17 different shot profiles? No. One good recipe and the fundamentals to adjust it will serve you far better. Multiple user profiles sound useful until you realize you’ll just use one anyway.

4. Dual Boiler Systems
Yes, dual boilers let you brew and steam simultaneously. Yes, this matters in a café doing 200 drinks per day. For your home, where you’re making one or two drinks? A heat-exchange system or even a single boiler with good recovery time works perfectly fine. Save yourself $500 to $1,000.
5. Professional Portafilter Size
Commercial 58mm portafilters are the industry standard. But 54mm (like on many Breville machines) and even 51mm options work great for beginners. Accessories are slightly harder to find, but the machines themselves often offer better value. Don’t get suckered into thinking bigger automatically means better.
Match Your Machine to Your Morning: Quick Routine vs. Weekend Ritual Recommendations
Most reviews skip this entirely: your lifestyle matters more than specs.
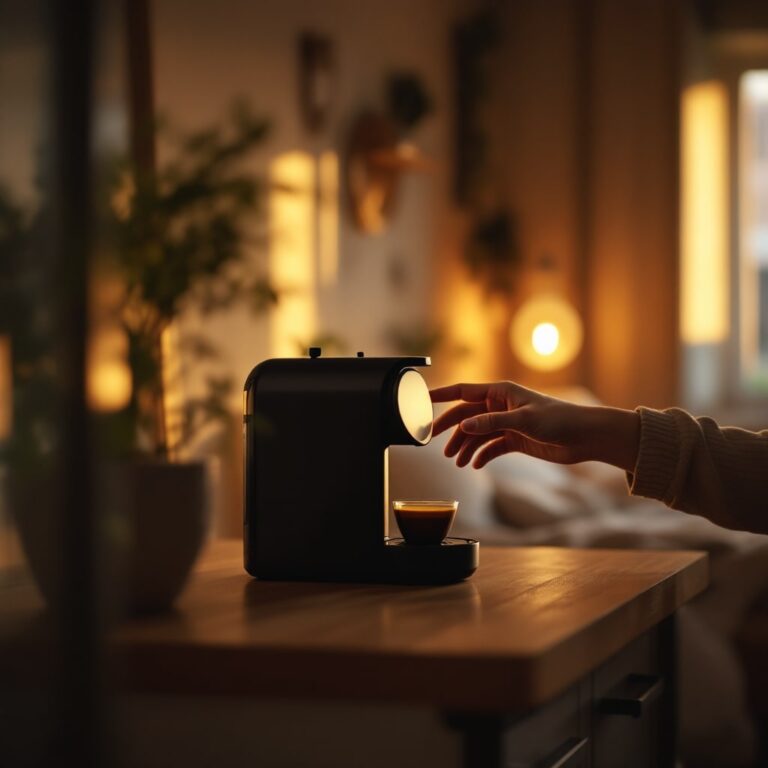
The Weekday Warrior (5–10 Minutes Max)
Coffee needs to happen fast. No time to dial in shots daily. And you probably shouldn’t be fiddling with grind adjustments before 8 AM anyway.
An easy-to-use espresso machine with a pressurized portafilter option works well here. Or consider an espresso machine with a built-in grinder for beginners. Yes, purists will scoff. But you’ll actually drink good coffee instead of abandoning your machine.
Consider: Breville Bambino Plus, De’Longhi Dedica, or if budget allows, the Breville Barista Express (though it’s bigger than affordable espresso makers for small kitchens).
Pressurized baskets on these machines are forgiving. Pre-ground coffee works in a pinch. And heat-up time is under a minute.
The Weekend Ritualist (15–30 Minutes, Enjoying the Process)
Learning appeals to you. Tasting the difference your technique makes sounds exciting. Saturday morning experiments? Sign me up.
Skip the pressurized baskets entirely. Get a proper unpressurized setup with a separate quality grinder. Your learning curve will be steeper, but your ceiling will be much higher.
Consider: Gaggia Classic Pro, Rancilio Silvia, or the Breville Infuser paired with a dedicated burr grinder like the Baratza Sette or Eureka Mignon.
These machines require more skill but reward it generously.
The Space-Conscious Beginner
Not everyone has sprawling counter space. Working with a tiny kitchen shifts your priorities completely.
Check out the Breville Bambino (non-Plus) or the De’Longhi EC685. Both have remarkably small footprints. Pair with a hand grinder like the 1Zpresso JX or Timemore C2 to save even more space.
The True Cost Calculator: Grinders, Accessories, and Hidden Expenses Revealed
That $300 machine isn’t actually $300 to get started. Here’s what you’re really looking at.
The Real Budget Breakdown
Entry-Level Setup ($400–$600 total):
- Machine: $250–$350
- Grinder: $100–$200 (hand grinder or basic electric burr)
- Scale: $20–$30
- Tamper: $15–$25 (skip if machine includes one)
- Beans: $15–$20
Mid-Range Setup ($700–$1,000 total):
- Machine: $400–$600
- Grinder: $200–$350
- Scale with timer: $30–$50
- Distribution tool: $20–$30
- Knockbox: $25
- Proper tamper: $30–$50
- Milk pitcher: $15–$25
Ongoing Costs (Monthly):
- Coffee beans: $30–$60 (quality matters!)
- Descaling solution: $5
- Water filter replacement: $5–$10
What Most People Get Wrong
Grinders matter more than machines. I’ll say it again: a $300 machine with a $200 grinder beats a $500 machine with a $50 grinder every single time.
If your budget is $500 total, spend $200–$250 on the machine and $200 on a proper burr grinder. Easy-to-clean beginner espresso machines paired with adequate grinders outperform fancy machines with blade grinders or pre-ground coffee.
Your First 30 Days: A Realistic Week-by-Week Learning Timeline
Honest expectations matter here. Nobody makes café-quality espresso on day one. Here’s what your learning curve actually looks like.
Week 1: Getting Comfortable
First shots will probably be bad. Accept this now.
Focus on: understanding your machine’s controls, consistent dosing (use a scale!), even tamping, and basic workflow.
Expect: sour shots, bitter shots, channeling, maybe some burned milk. All normal.
Week 2: Finding Your Baseline
By now you should have one recipe that produces drinkable espresso.
Focus on: timing your shots (aim for 25–35 seconds for a 2:1 ratio), adjusting grind size, and consistent technique.
Expect: improving consistency, some good shots, and still plenty of duds.
Week 3: Refinement
Things click for most people around this point.
Focus on: small adjustments (one variable at a time), understanding what changes taste, and milk texturing if applicable.
Expect: the majority of shots are decent, with occasional great ones.
Week 4: Building Confidence
You’ve got this.
Focus on: speed and efficiency, experimenting with different beans, and developing preferences.
Expect: a confident morning routine and an understanding of what features matter in an espresso maker for YOUR style.
After 30 days, you’ll know whether you want to get more serious about the hobby or just make reliable morning coffee. Both are valid paths.
Specific Recommendations Based on Real-World Performance
Bringing it all together with specific machines I’d actually recommend.
Budget-Friendly (Under $500)
- Breville Bambino Plus ($499–$500): Best overall beginner espresso machine. Fast heat-up, automatic milk texturing, compact size.
- De’Longhi Dedica EC685 ($250–$350): Slim design, solid pressure, great for small kitchens.
- Gaggia Classic Pro ($400–$500): More advanced but incredibly upgradeable. Great if you know you’ll want to learn more.
Mid-Range ($500–$900)
- Breville Infuser ($400–$500): Excellent pressure control, easy cleaning, super intuitive.
- Rancilio Silvia ($700–$900): Built like a tank, professional components, decades of proven reliability.
- Breville Barista Express ($600–$750): Built-in grinder makes it an all-in-one solution.
The One Upgrade That Beats a Better Machine
Before upgrading your machine, upgrade your grinder. This is my final piece of advice and probably the most important.
A $150 hand grinder or $200 electric burr grinder will transform mediocre equipment into a legitimate espresso setup. I’ve tasted shots from $300 machines with good grinders that rivaled $1,500 setups with stock equipment.
A great beginner espresso machine ultimately matches your morning, fits your space, and leaves budget for a proper grinder. Don’t chase specs. Don’t fall for marketing. Start simple, learn the fundamentals, and upgrade thoughtfully.
That first genuinely great shot you pull at home? Worth every bit of the learning curve.